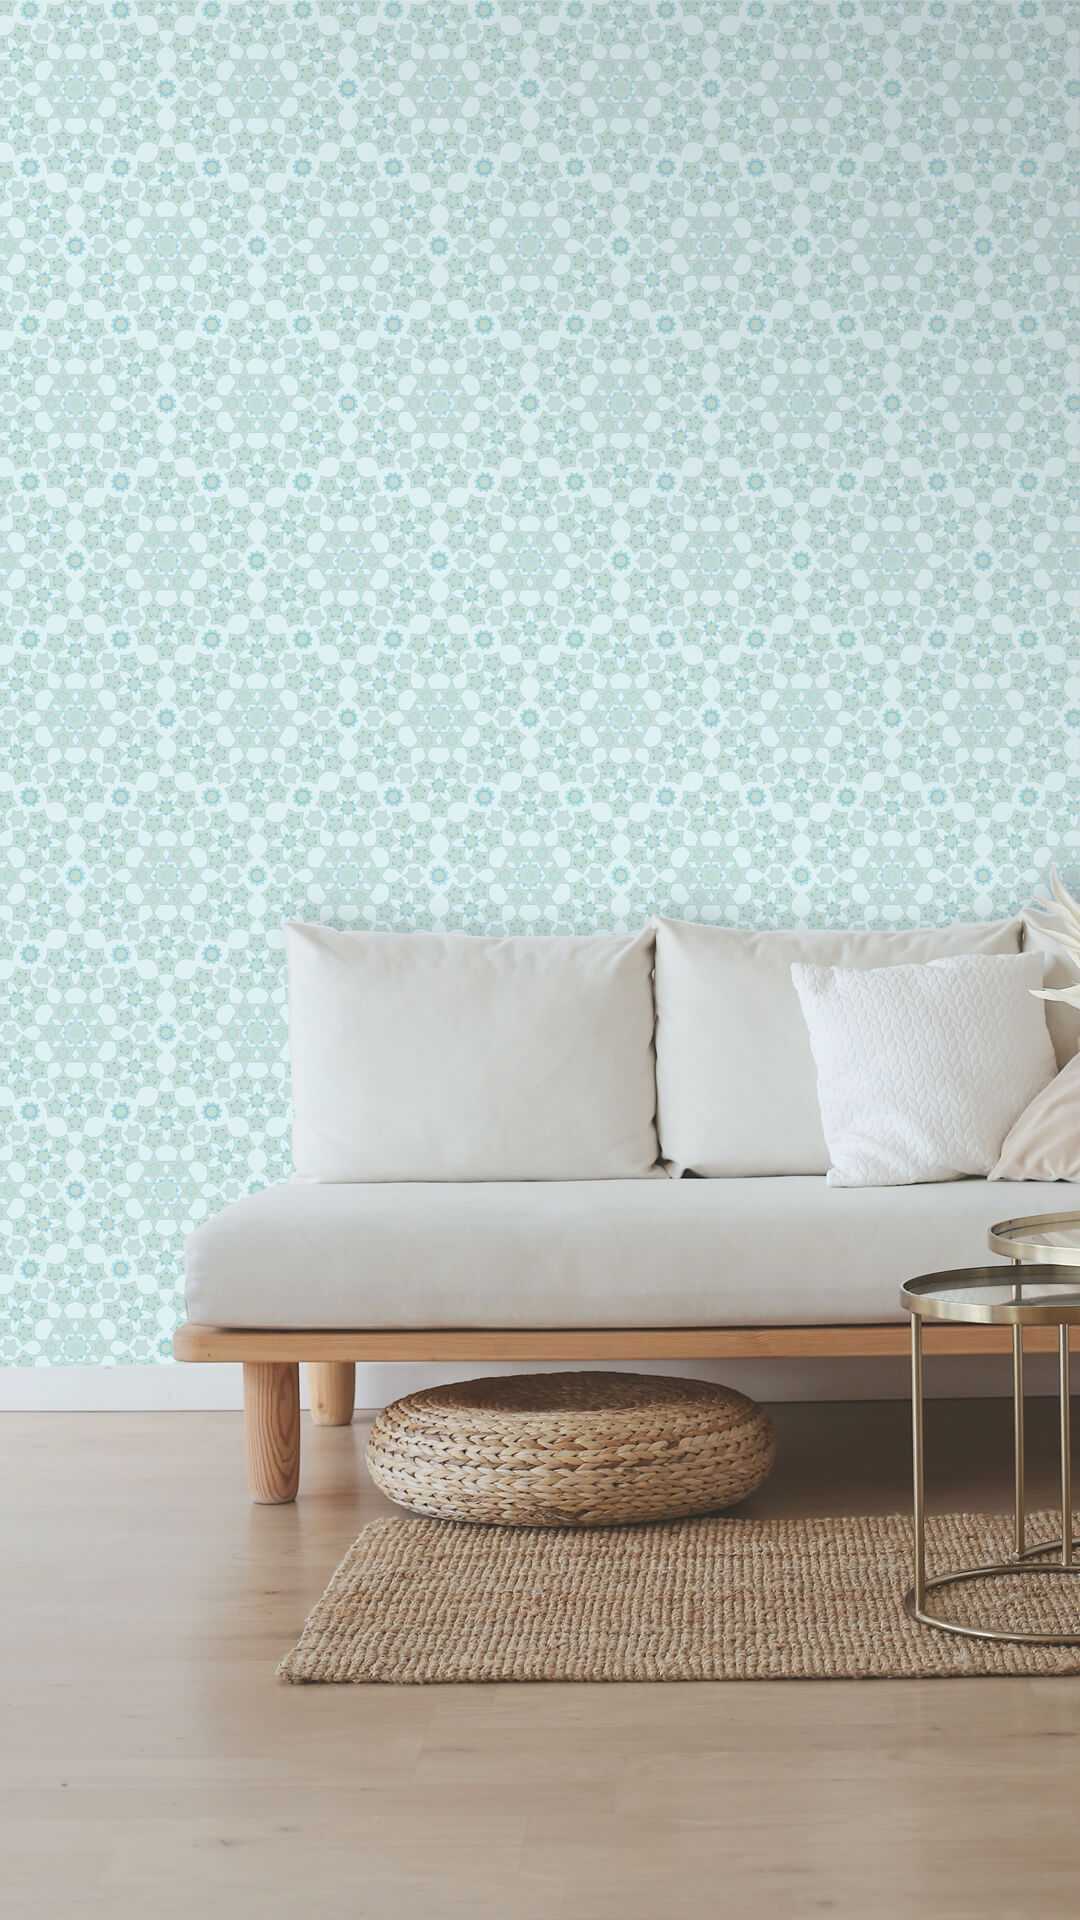
Caleidoscopic Wallpaper
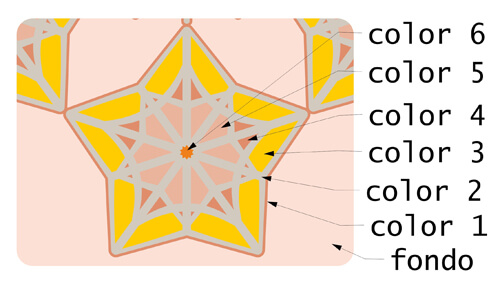
Our Caleidoscopic wallpaper pattern can be happy and casual, or elegant, it depends on the colors you choose, make the combination you choose, we send you a picture of how it is going to look for free!
At Lagoa we can customize the measurements and colors of our pictures to find what you want, because you like the fuchsia mixed with lemon yellow and deep green, or the opposite, the main character is you!
How to choose colors:

.
.
.
.
.
.
Product customization
Don't forget to save your customization to be able to add to cartSpecial measures? Send as an e-mail.
Easy to install without tools due to its thickness of 140g/m2, simply peel off the protector and stick it to the wall. Made of high-grip adhesive vinyl, even on surfaces with low surface tension. Very resistant to light and washable, they can be placed where water hits them (shower, kitchen backsplash), it is fire resistant (B-s2-d0) and not fire retardant.
How is it placed?
1. The surface must be dry and free of dust and grease, if you are going to stick it on the wall, wipe it with a damp cloth and let it dry, any trapped impurities affect the adhesive and a small lump will be visible. If you have just painted the wall, wait a few days for it to be completely dry.
2. Place the first strip and place it on the wall with masking tape (painter's tape) without removing the rear protector. Leave a few extra centimeters above because walls and ceiling are never completely straight.
3. Peel off the back protector about 15cm and start sticking with your hands or a cloth. Do not use anything that could damage the surface, especially if you are working on gotelé.
4. Now the strip is already attached by itself, remove the back as you stick to the wall, always from the center to the ends, so that no air is trapped.
5. The next strip must be glued, mounting approximately 1 cm above the first one, so that the drawing matches.
6. continue with the rest of the strips until you finish covering the entire surface.
7. Cut the excess with a cutter (sharp so that the cut is clean) helping you with a ruler.
Want to know more about the finishes? Canvas on frame, tarp on a frame, photo paper ...., the blog got the information.
- Height
- 260cm
- Width
- 68,5cm
- Time
- 10-15 días hábiles desde que se procesa el pedido


