Shopping Cart


€62
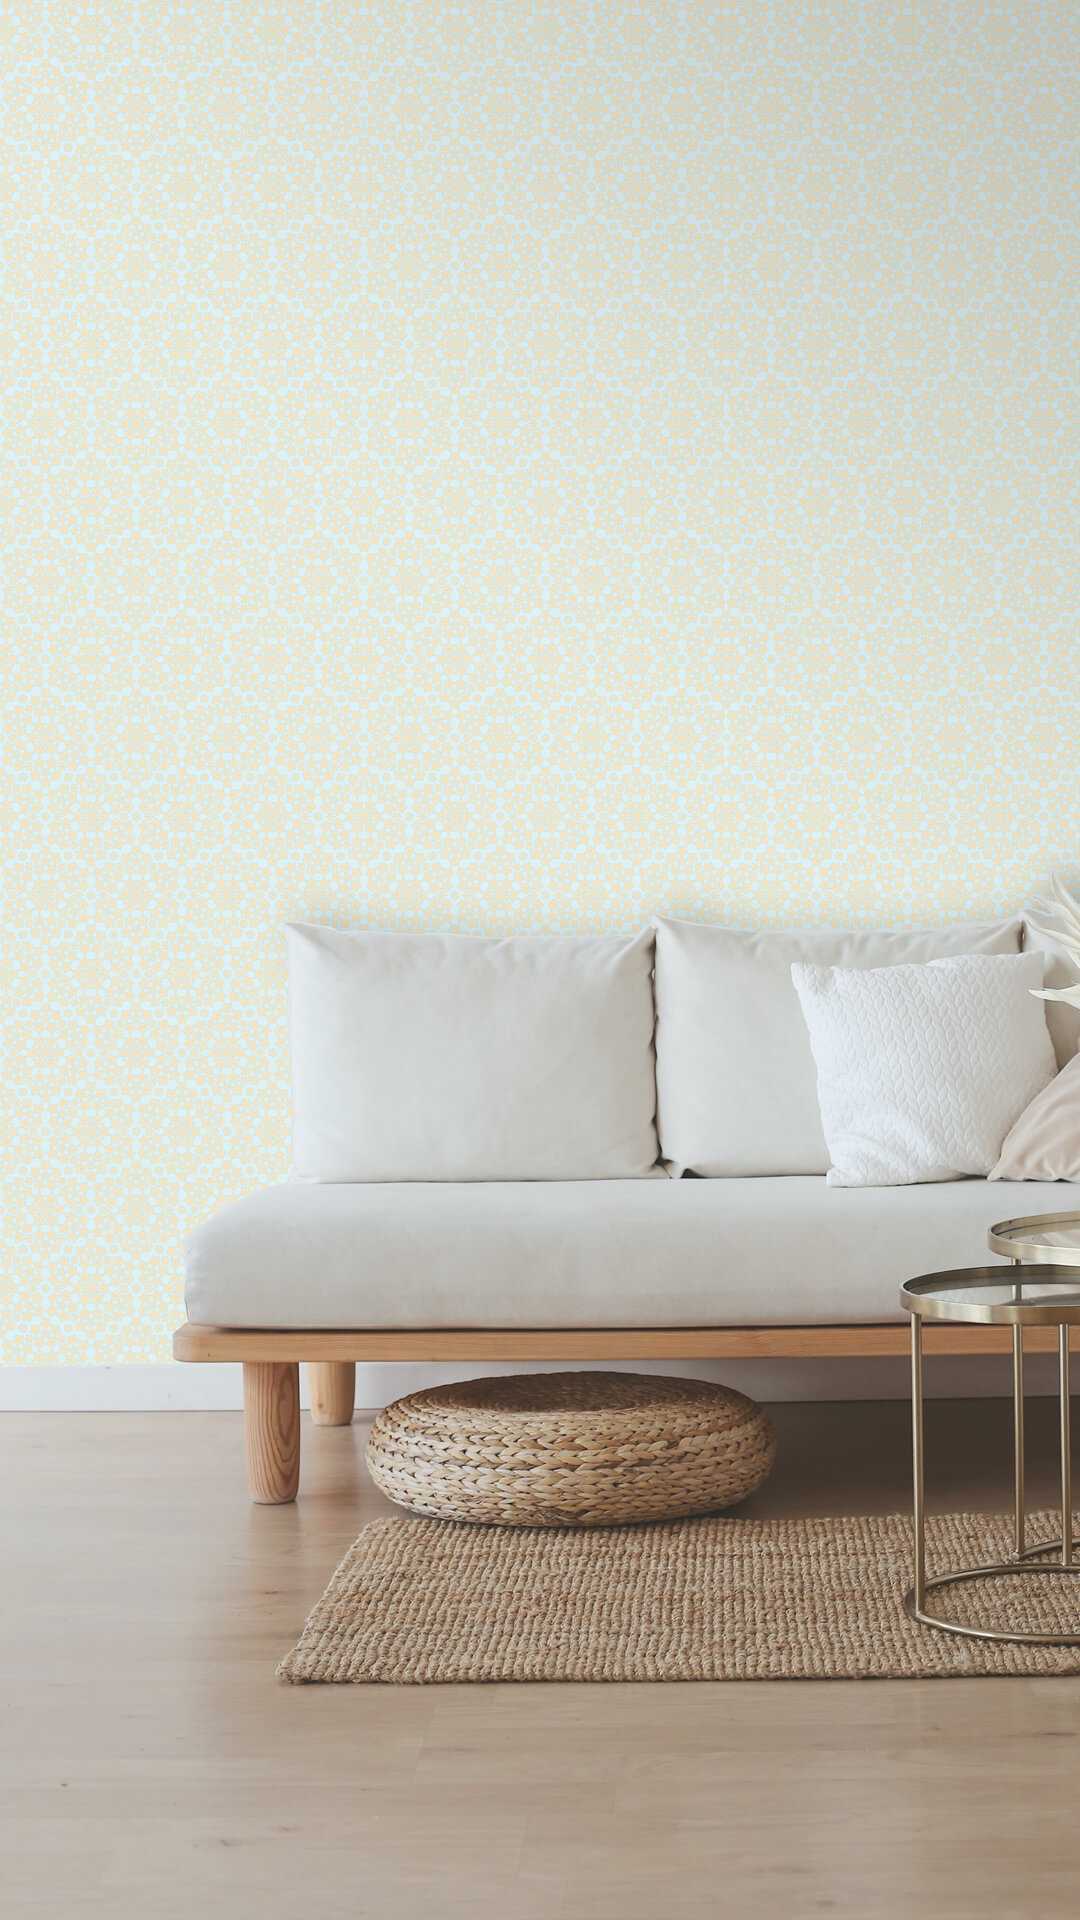
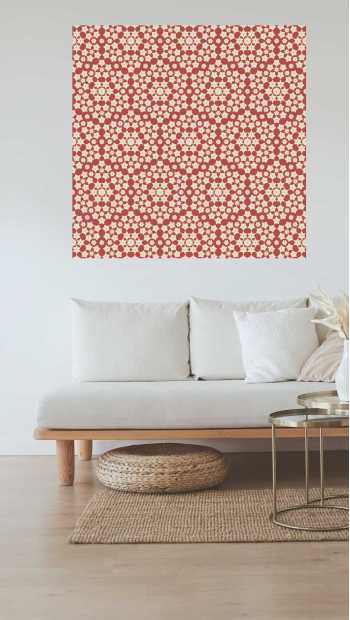
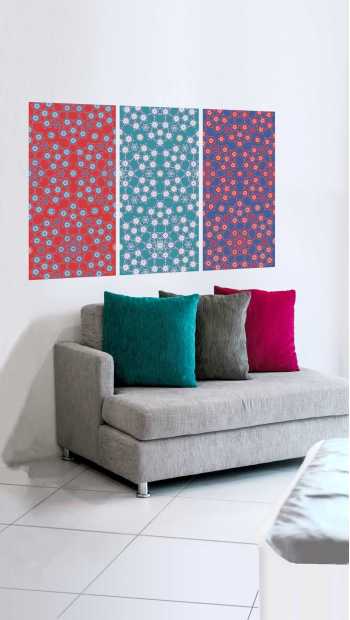
Instead of covering an entire wall with paper why not put little touches like pictures that can be easily removed when you want?
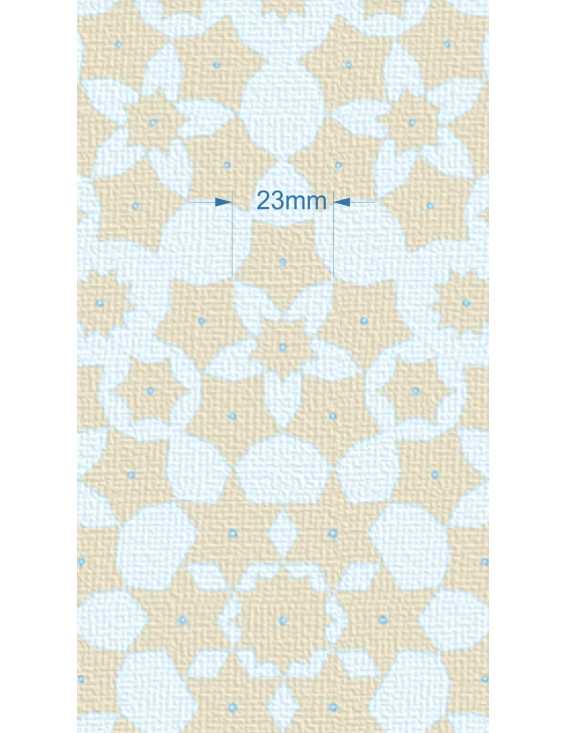
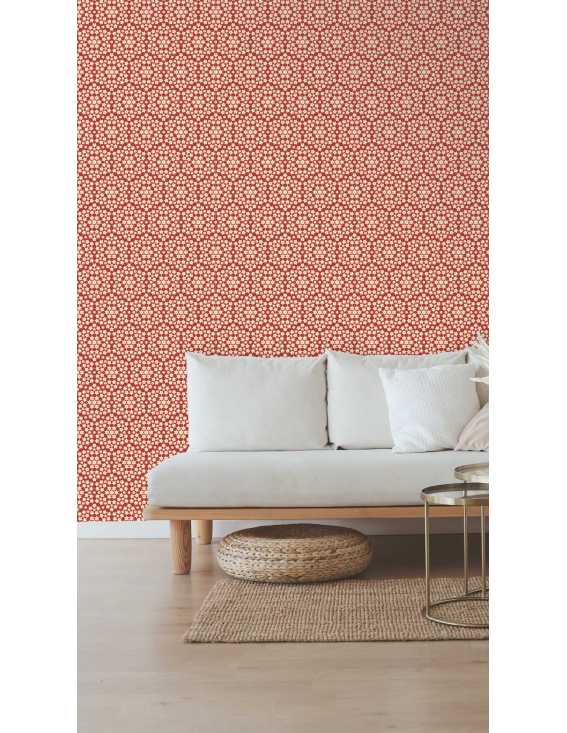
Our Candy wallpaper pattern can be happy and casual, or elegant, it depends on the colors you choose, make the combination you choose, we send you a picture of how it is going to look for free!
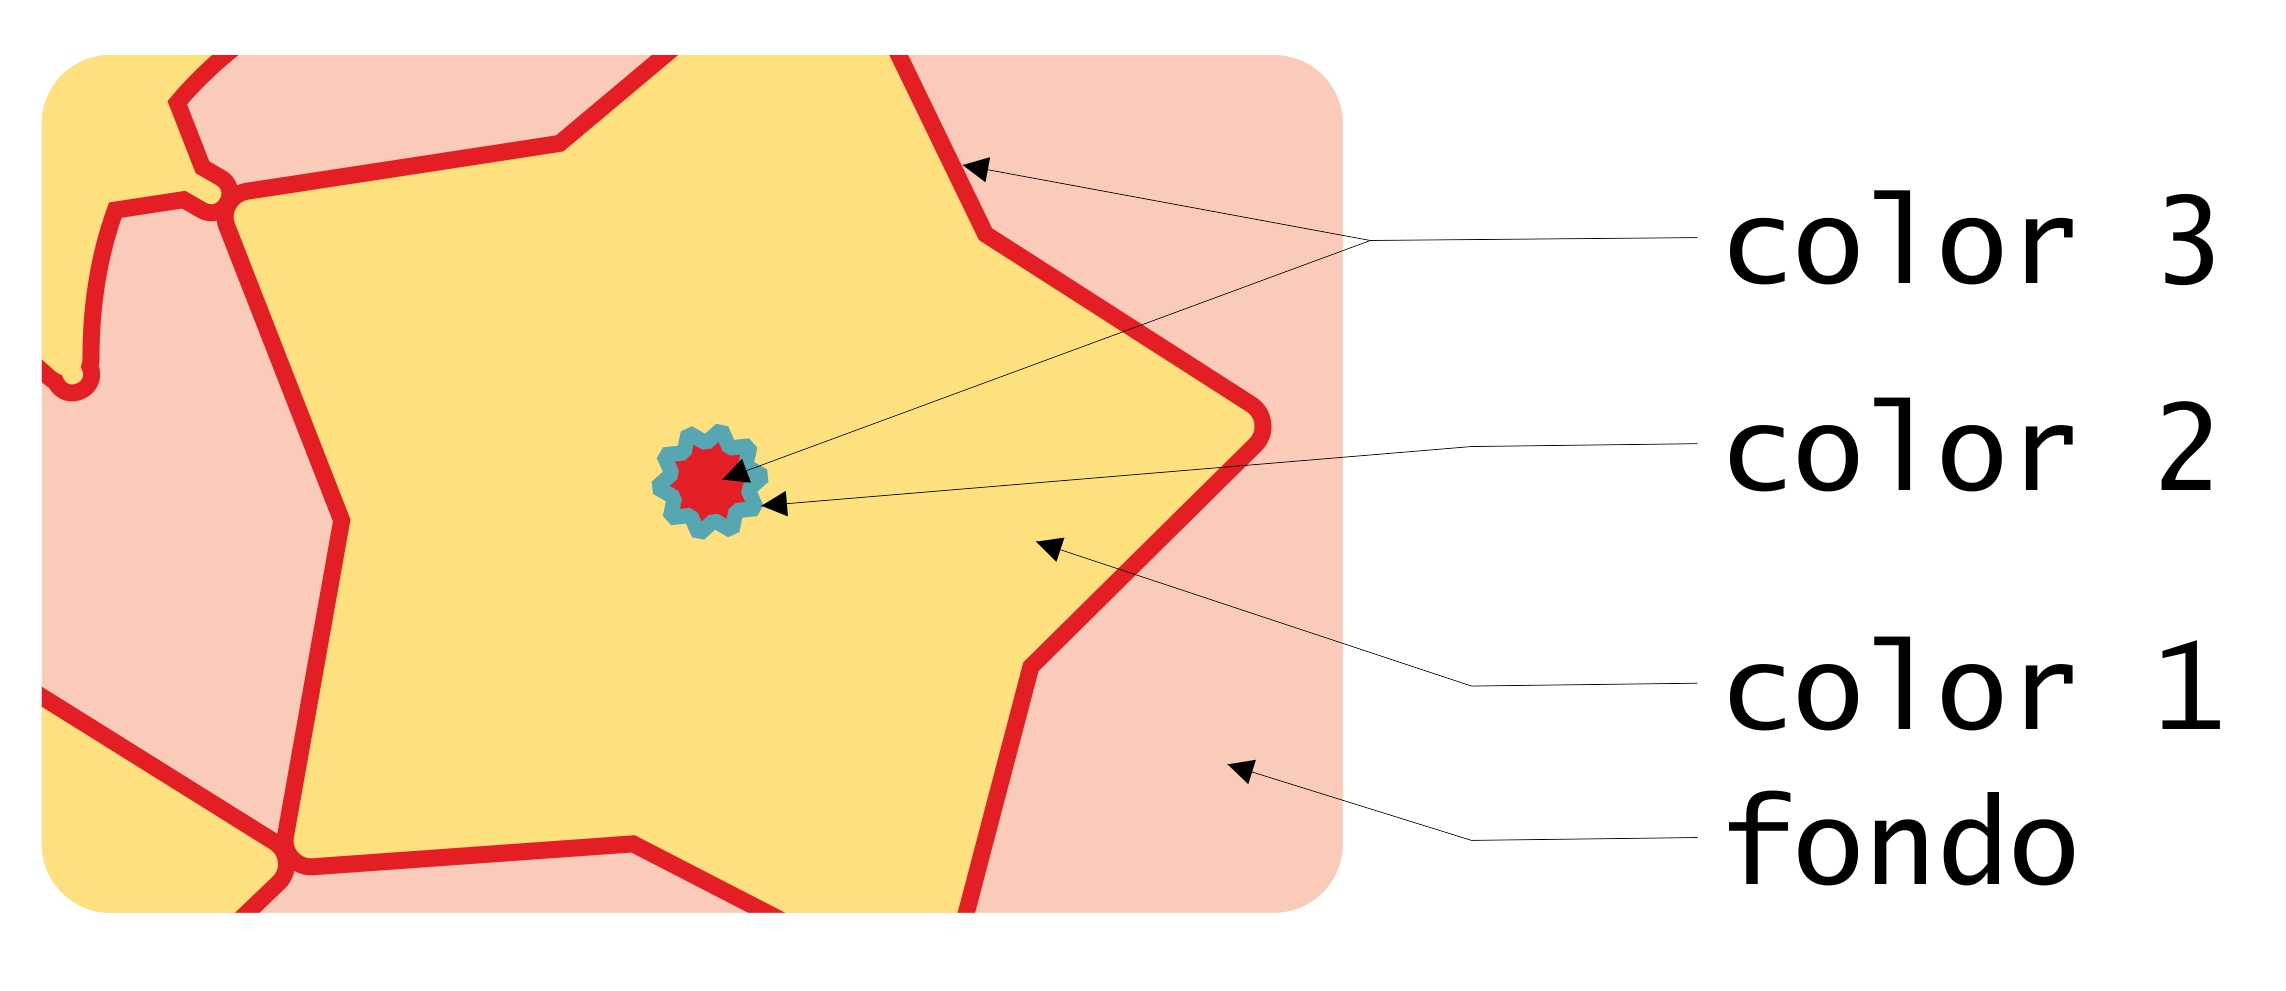
At Lagoa we can customize the...